Shed insulation and work bench project
This project has been a long time coming (as with most of my projects that are still in the planning phase). Just a little bit of background, before we dive into the details.
We have two sheds. One is connected to our carport and was built, shortly after we moved into our house. We knew from the beginning when we build the house, that we needed some extra storage for gardening related things and all the other stuff that you usually keep outside of your house, like an extra set of car tires or even your bikes.
With the addition of our kids to our family, we needed even more space for their bikes, toys, and of course also more and more other stuff piled on. So we bought an assembled the second shed in May 2022.
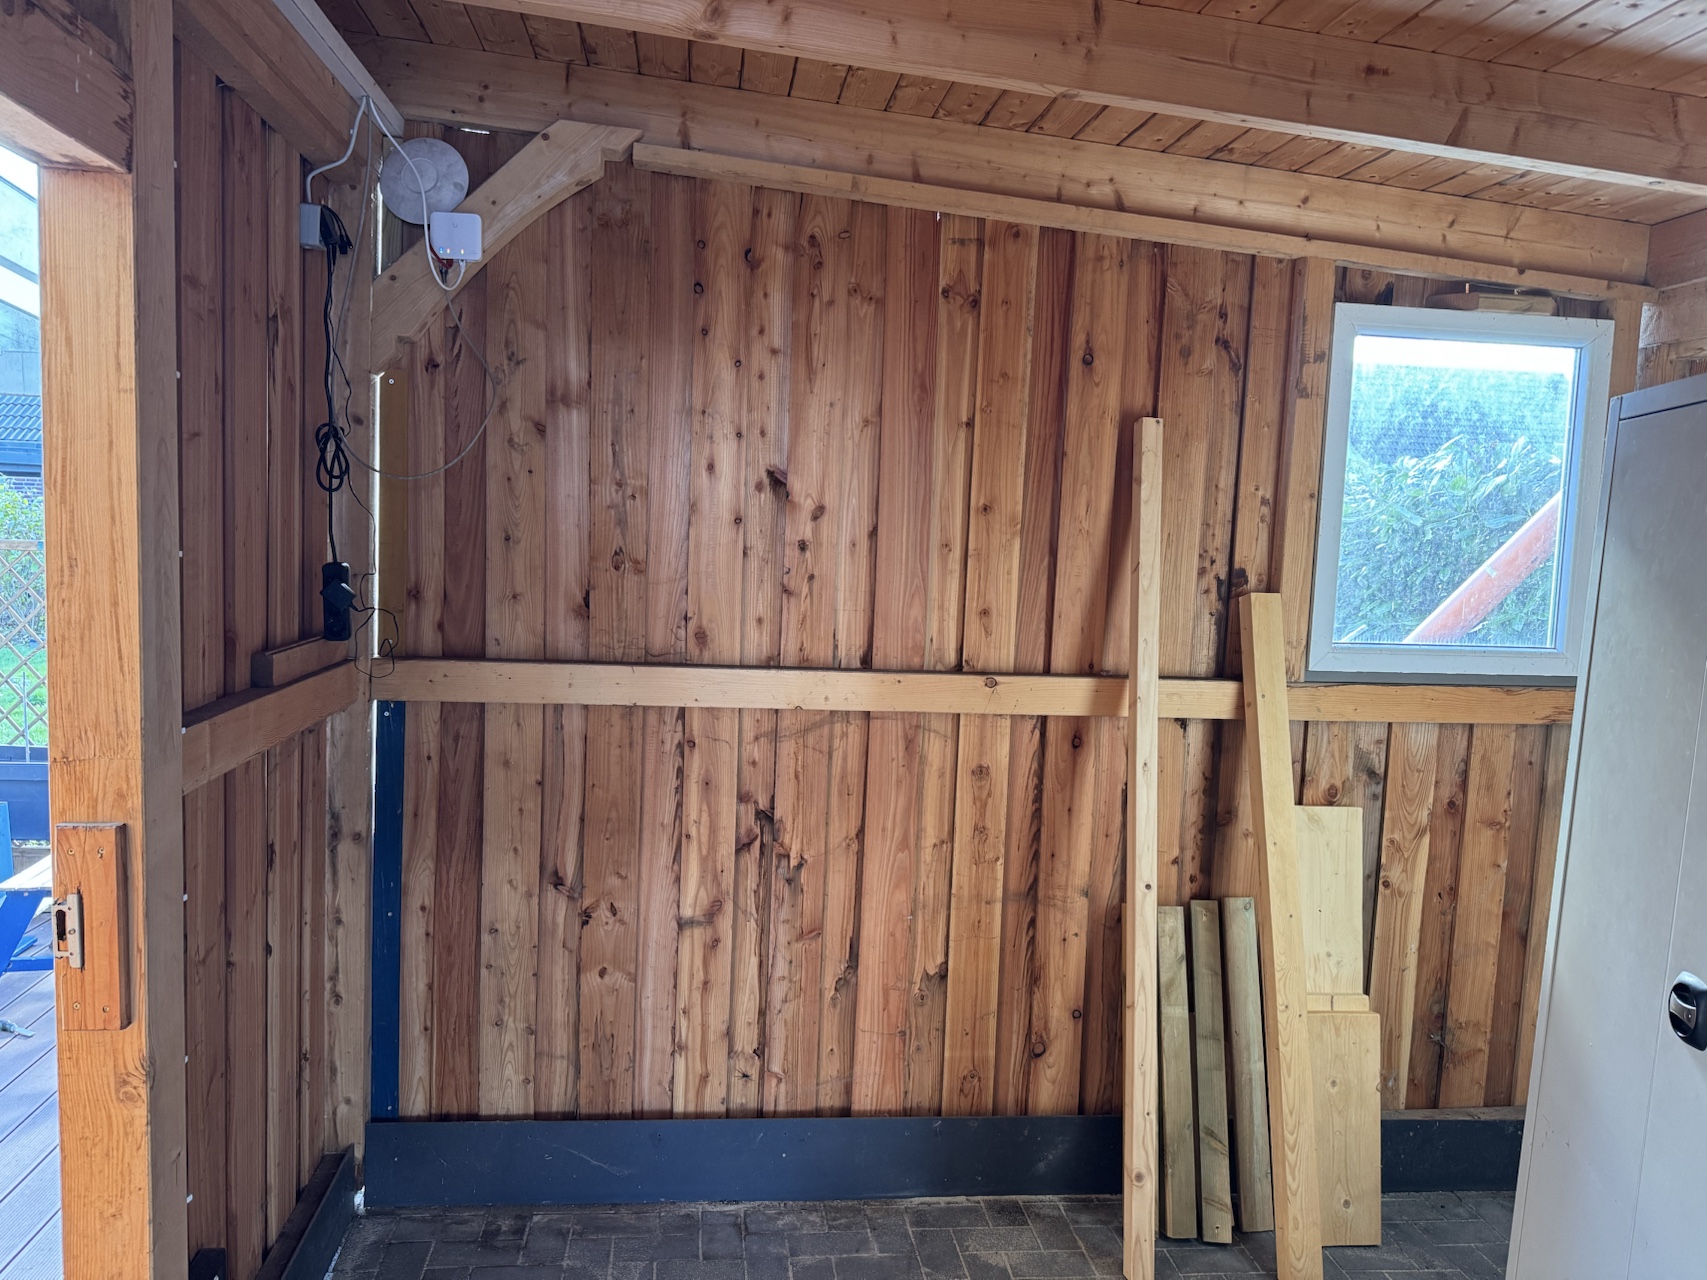 Shed PreWork 01
Still the original shed was (still) almost always full of things that we currently didn’t need:
- A secong set of wheels for the car (either winter or summer)
- Shovels, forks and other gardening related things
- Inflatable pools in between swimming sessions in the summer
Preparing for winter
Our cat is one of those cats that like to stay inside almost all of the day and then leaves to do his thing outside during the night. The next morning he’s back, sleeping on our terrace, until the shutters come up and we let him in for breakfast. When it’s warmer (I think above 10 degrees Celcius), he also stays outside during the day, but just sleeps on the terrace.
To be prepared for winter when it can get quite a lot colder during night and daytime, our cat starts around August to eat more to put on mass so he won’t be cold on the darker days/nights. I am not sure if it is the healthiest thing, but when we visit the doctor he never complains about it.
More space, more work, more everything
One thing I always wanted to put into our shed was a work bench. We have amassed quite a selection of tools, like every house owner probably does, and they always take up space inside the house, because you don’t want to expose them to the cold. Especially when the are battery powered. Putting a bench in the shed would also create extra storage space that isn’t open to the rest of the room, but confined.
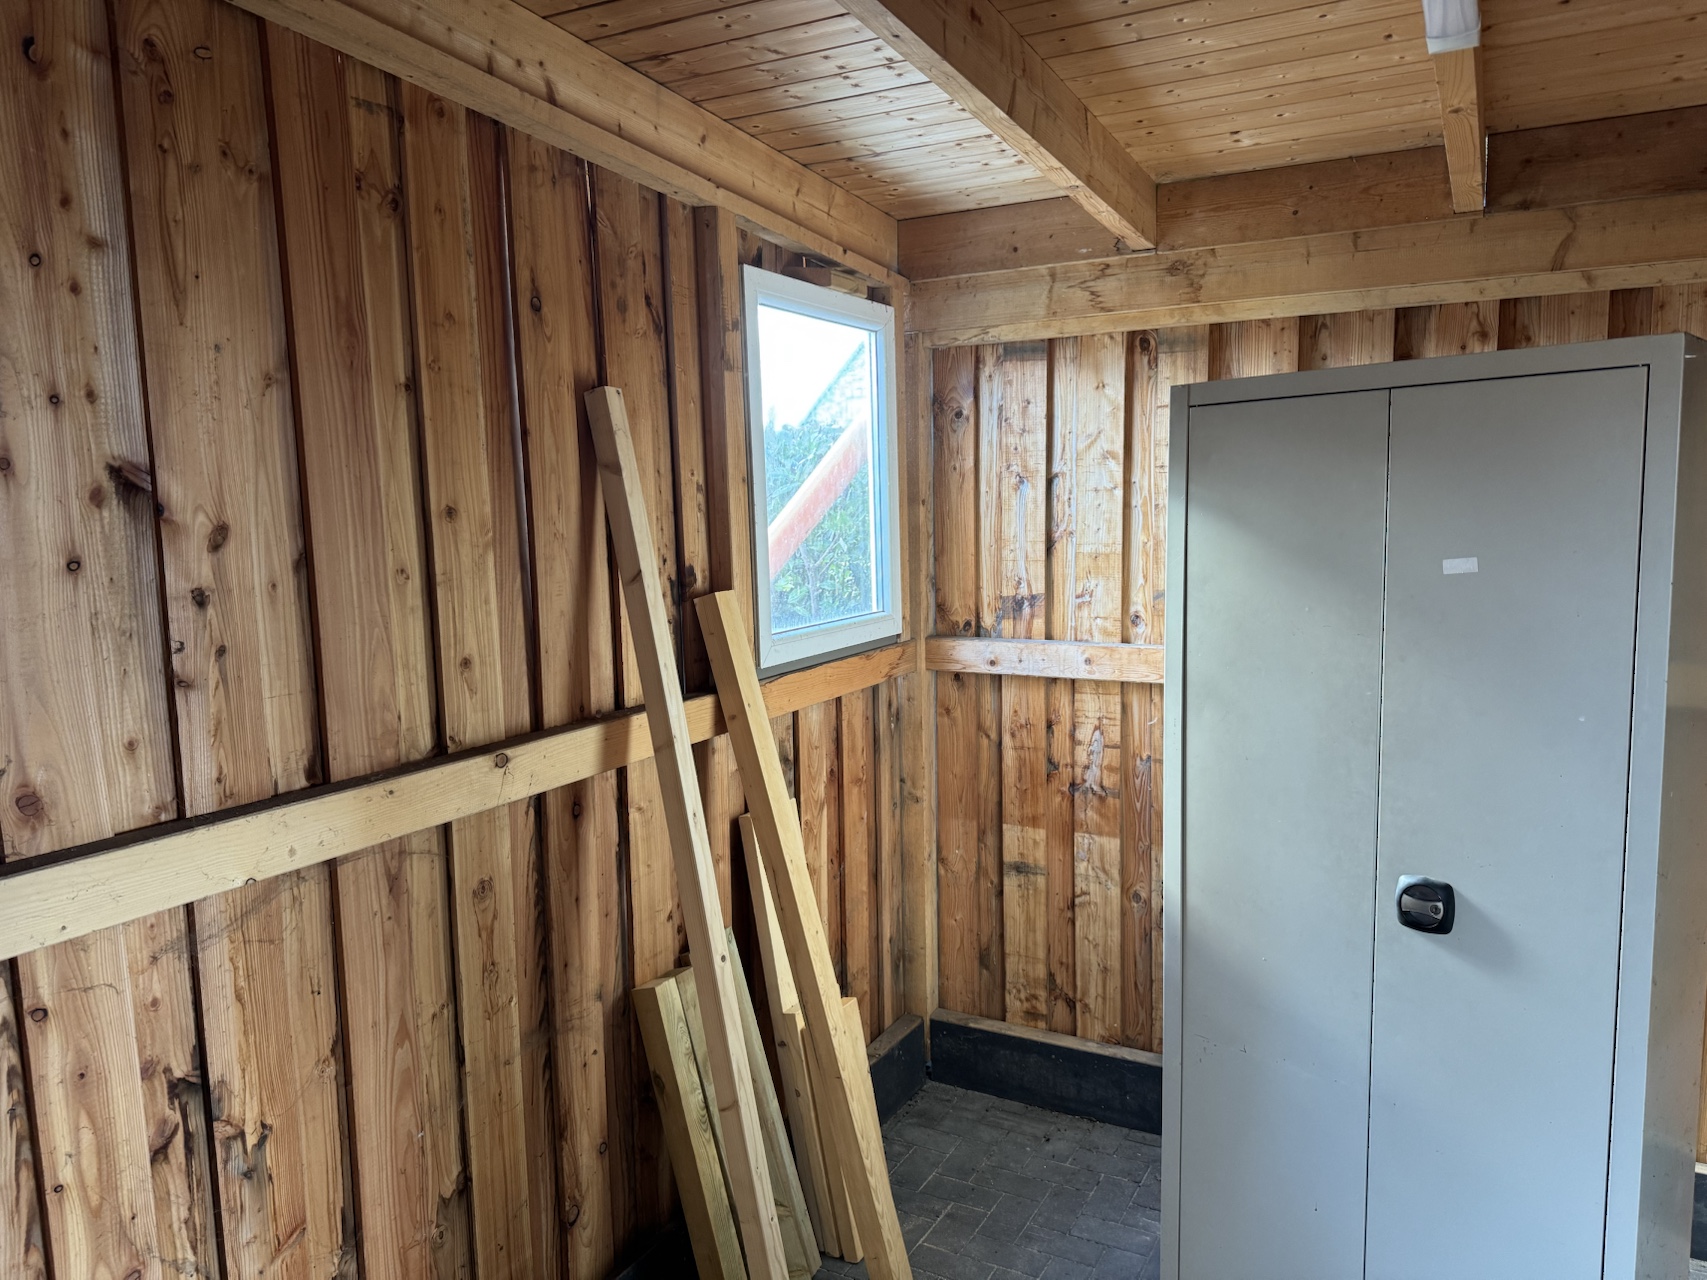
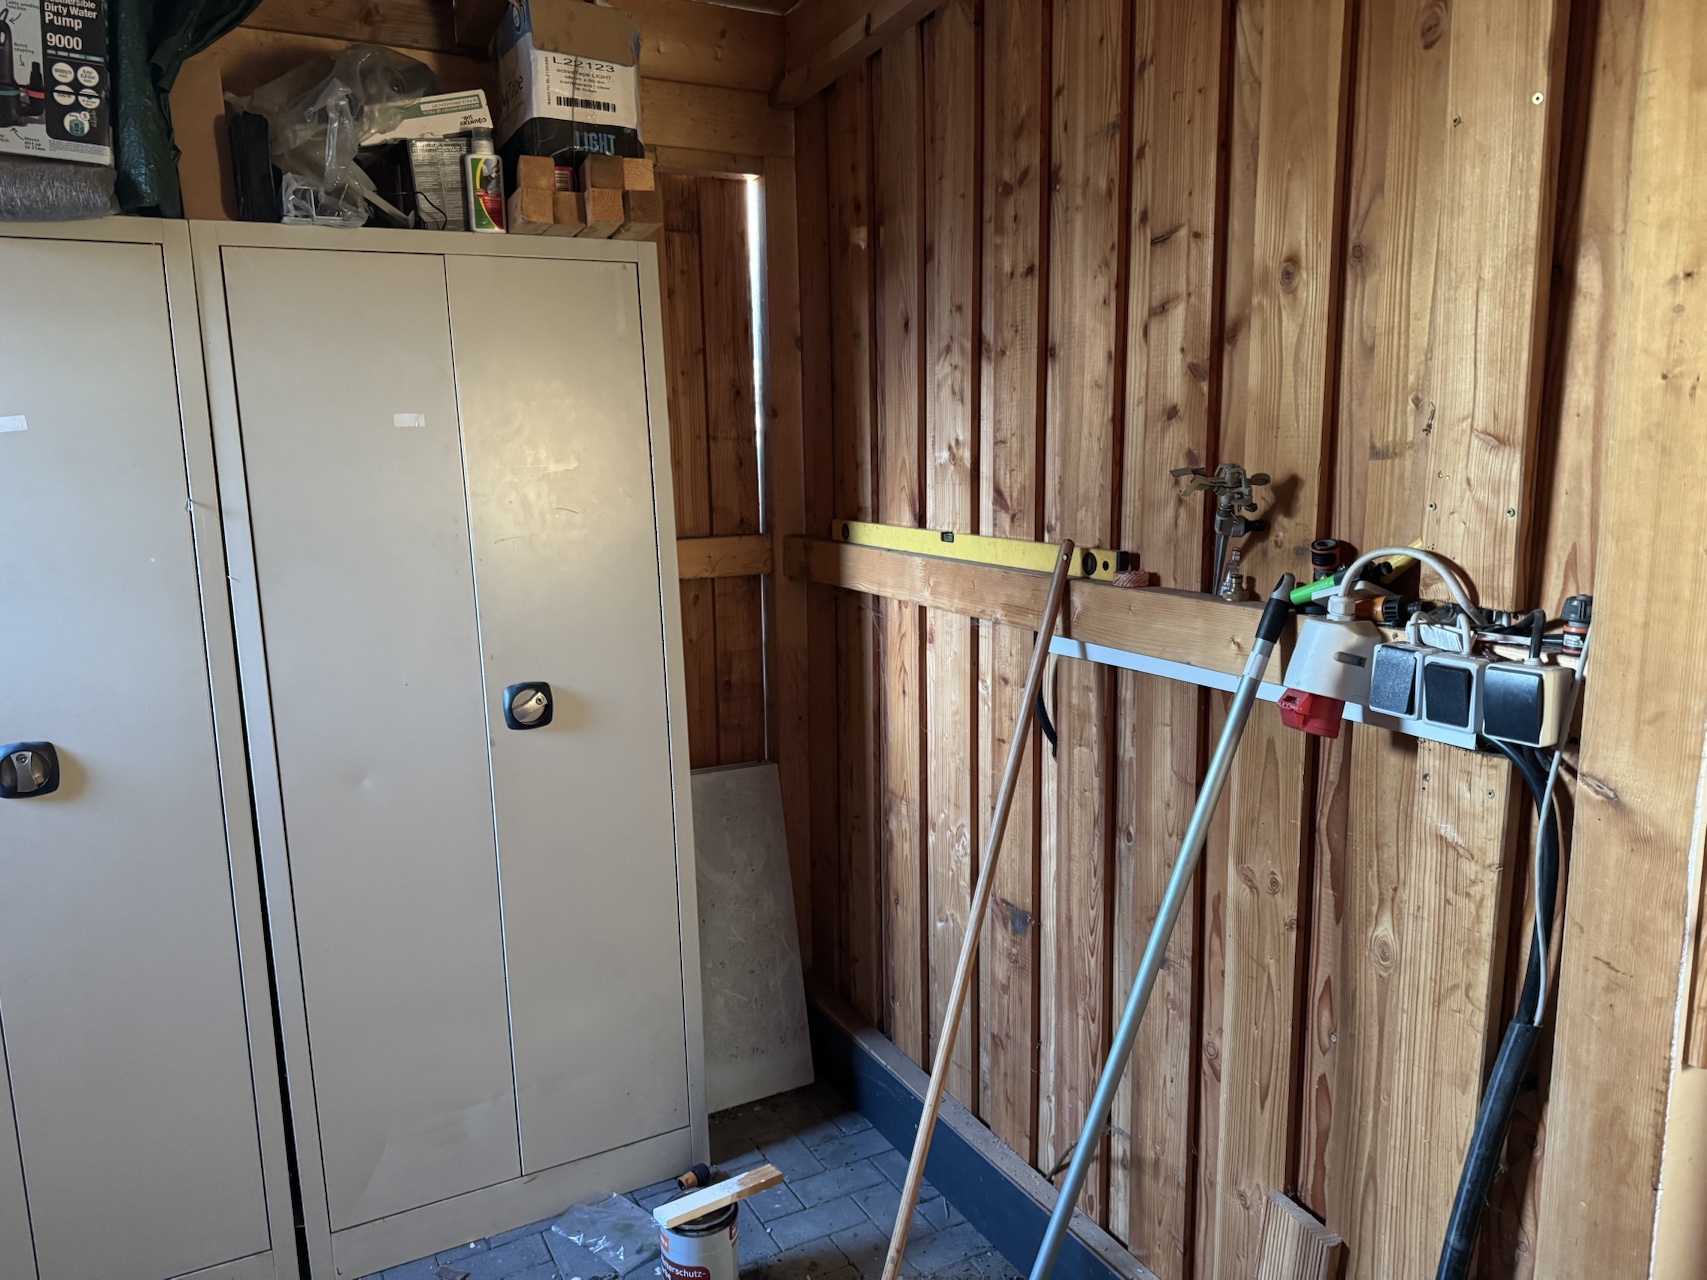
Our shed is made of wooden boards that are screwed onto beams, therefore creating a spacing between the boards and the actual inside of the storage area. So to be able to put a work bench in the shed would require a straight wall from the inside. Otherwise things would fall between the top of the bench and the spacing that was created by the boards being screwed on top of each other with space in between them (see picture).
Step 1: The insulation
So I started insulating the shed. Fortunately the space between the boards and the end of the vertical beams was exactly 6cm, making it easy to buy insulation with the same thinkness.
If we are away for a couple of days, the “main user” of the shed is our cat who will find his food and bowl of water in here. To be able to access the shed we have a cat door installed through which only he can enter. As it is based on the chip he has under his skin.
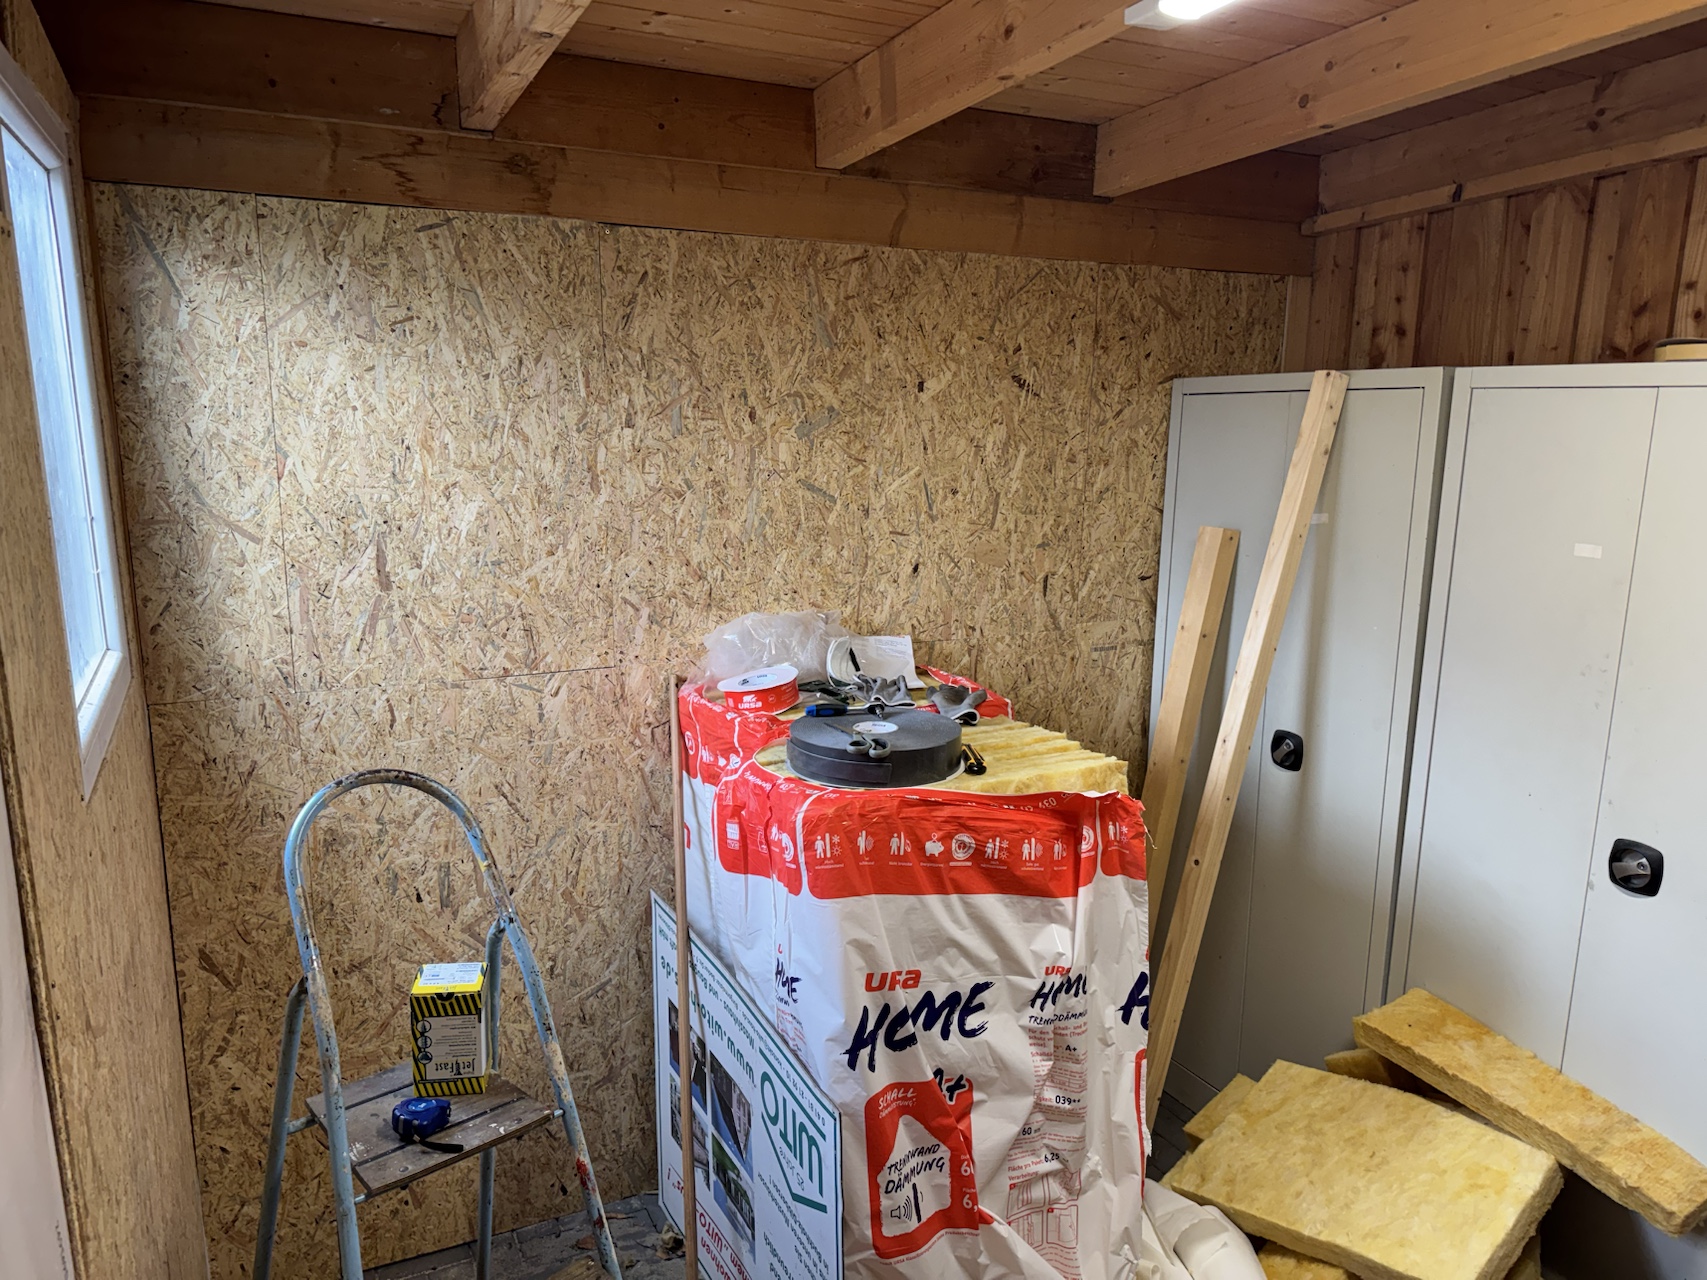
The process I used is simple and enough for a shed (I would think). You put in the insulation and then cover it with a piece of plastic that ensures that no water can get inside the room.
To have a fixed and straight wall I used OSB sheets/boards that I screwed onto the horizontal beams. As the beams were at a very unfortunate height, we had quite a lot of excess, which we will probably use for some other ideas in the future.
The hard parts
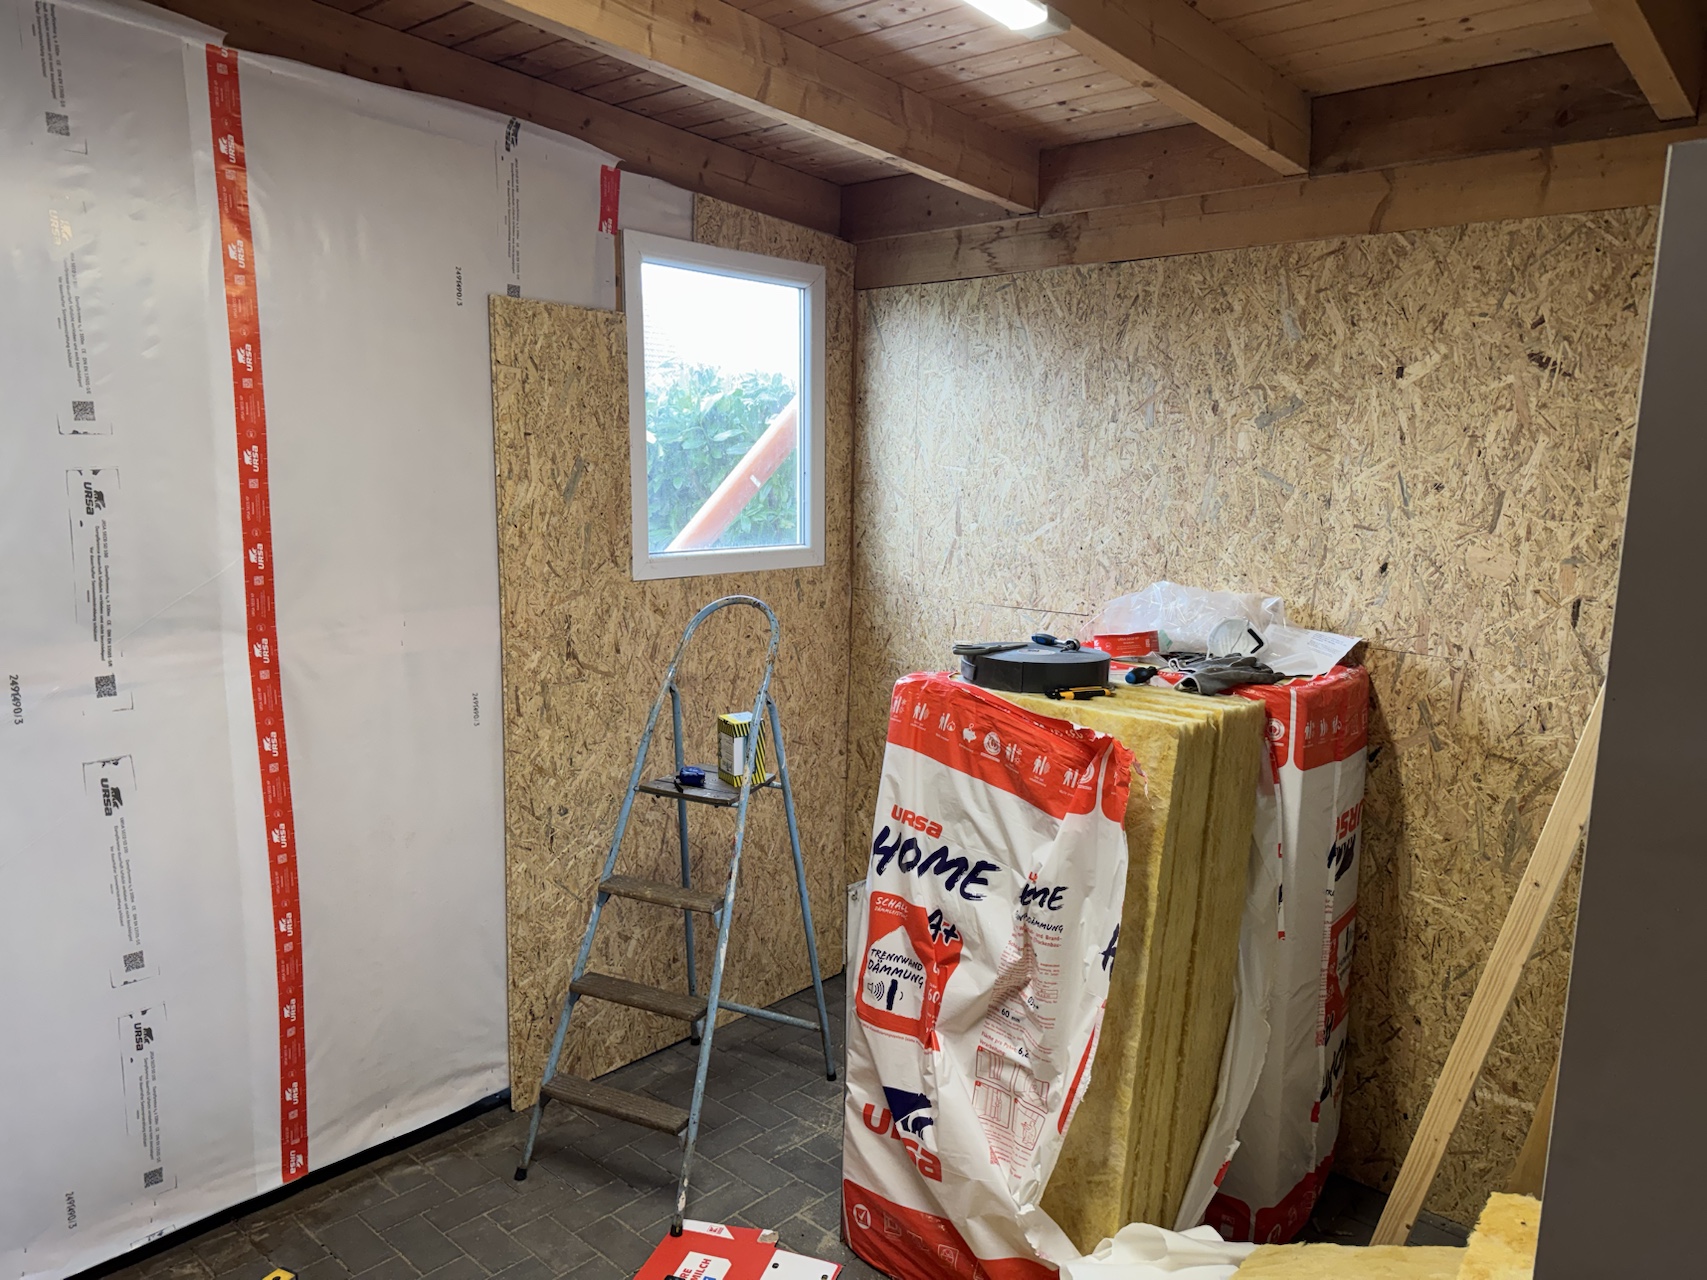
Of course not everything runs smoothly. Especially not when you’re working with wood. The first thing I had to “work around” was the small window that is part of our shed. Fortunately, enclosing it with the OSB boards turned out easier than I thought. But of course measurements weren’t 100%, so I had to sand the last bits quite a few times to make the boards fit.
The cross beam
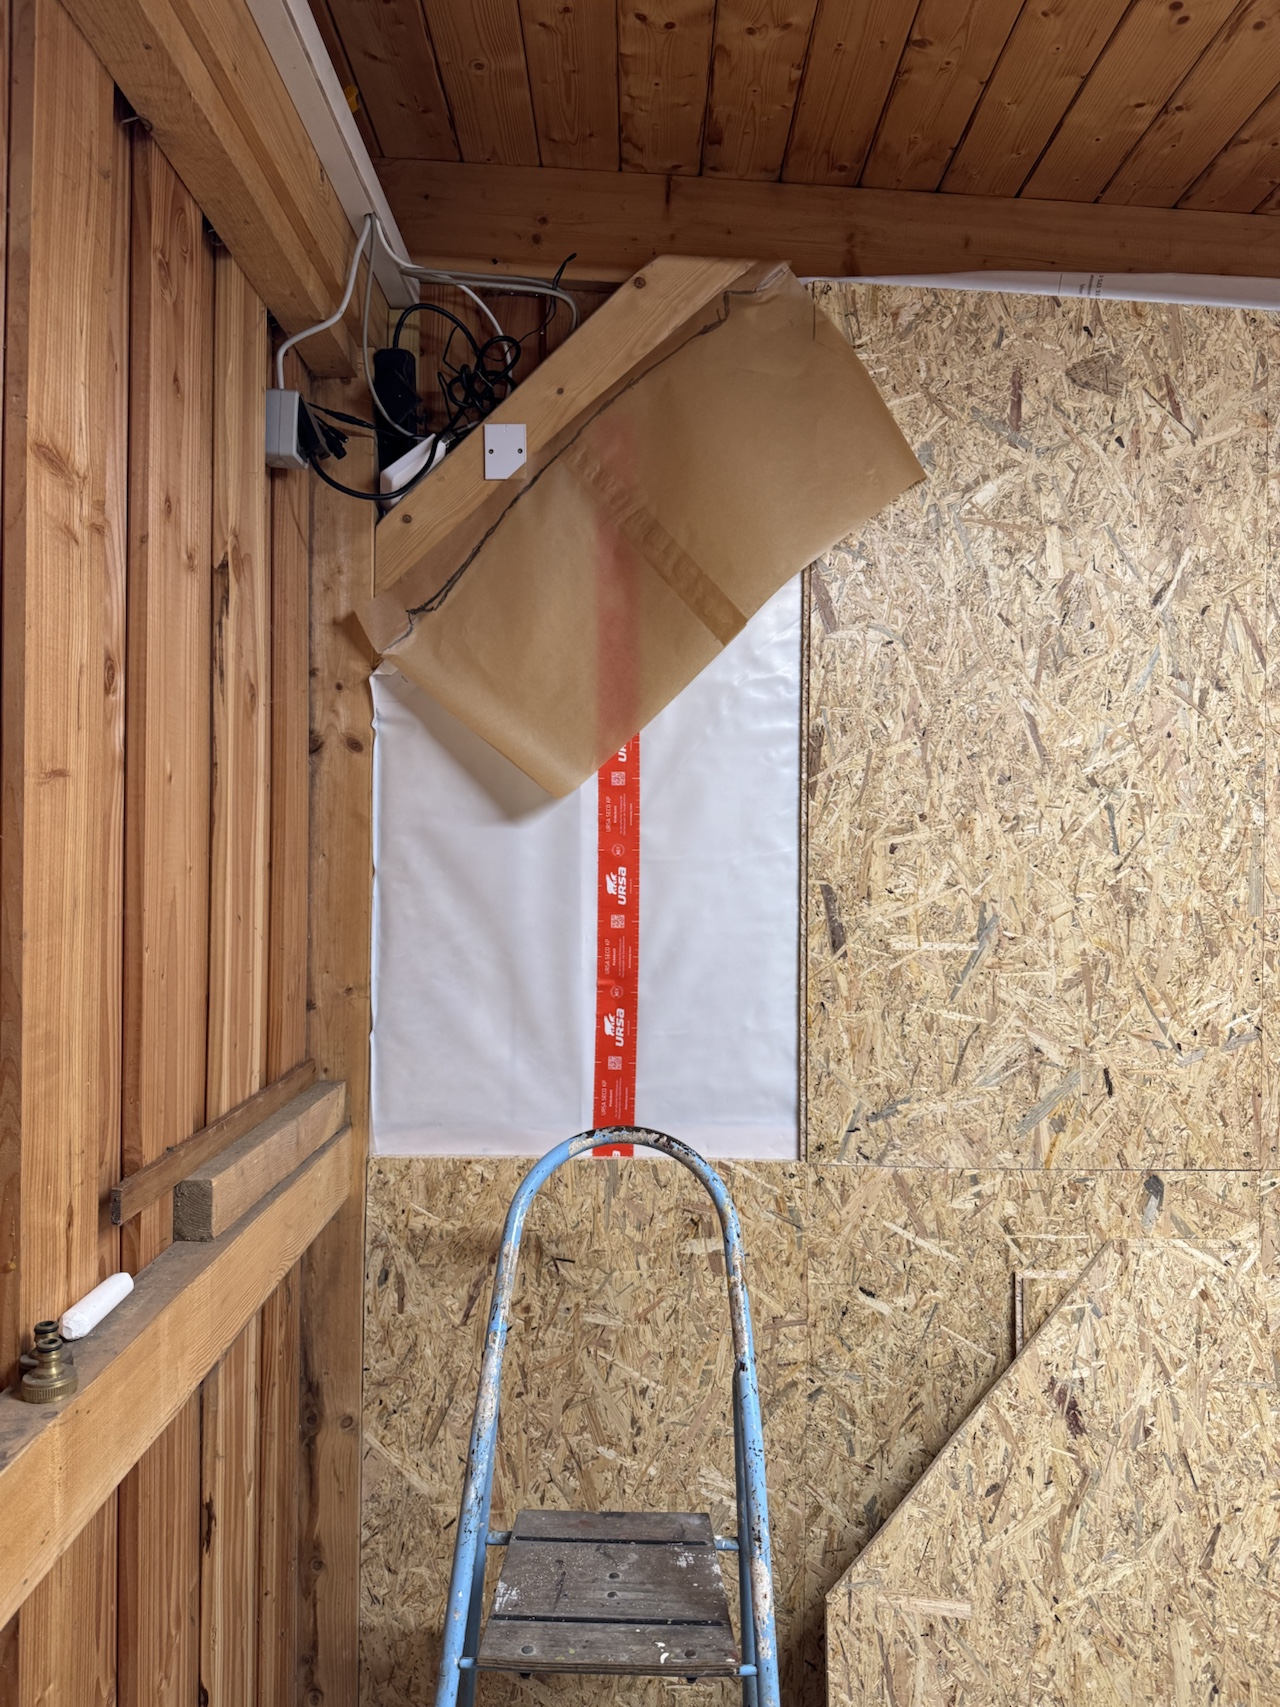
The first real challenge came when I had to work around a cross beam that is holding the roof, because it is pretty intricate. I tried tracing it with some baking paper to be able to cut the OSB board accordingly. That worked kind of ok-ish to get a good feeling for the overall form of the beam. But somehow the measurements were wrong. Combined with the fact that you had to find the correct angle to put the traced stencil on the OSB board, this became tedious.
One of the main reasons for this was, that the actual corner beam that is holding the overall structure wasn’t totally leveled horizontally. So I also had to adjust the width of the board to fit around that beam.
Cable management
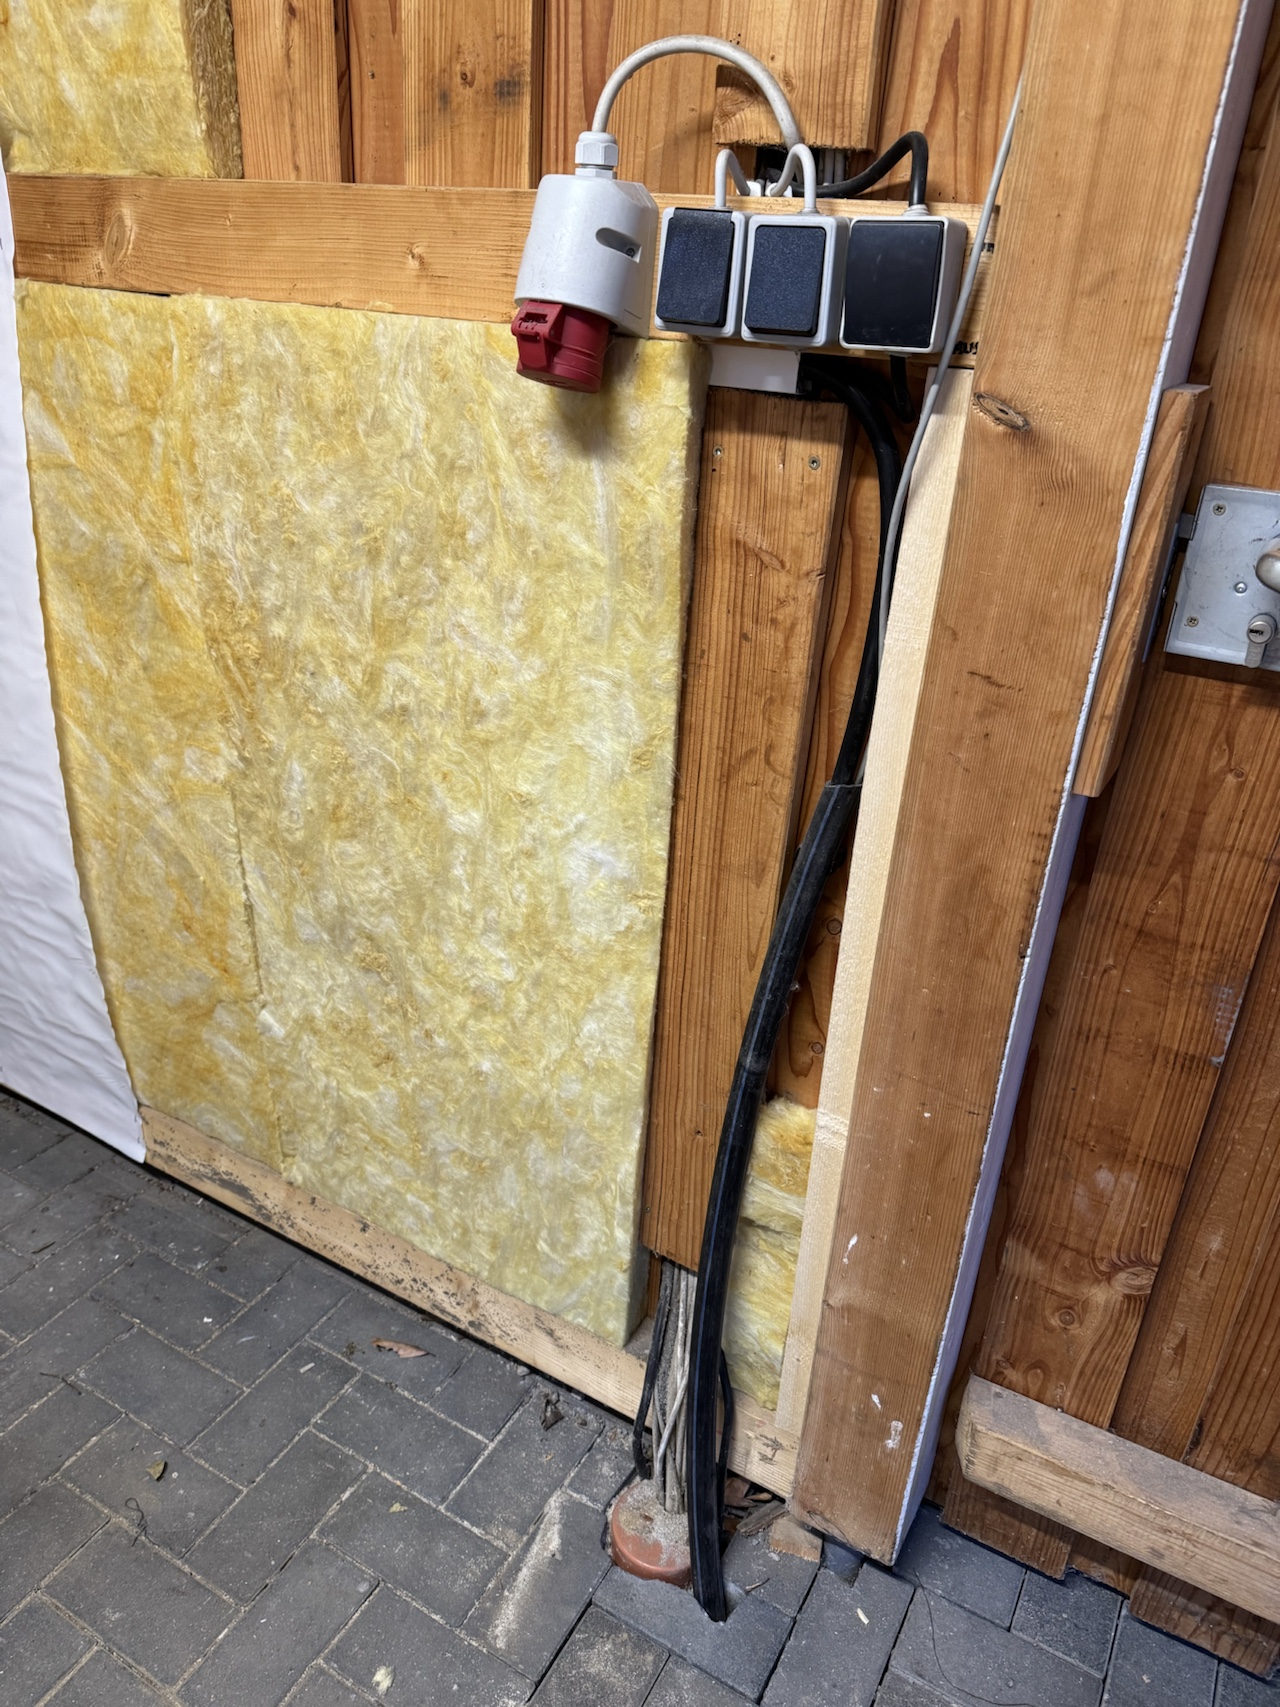
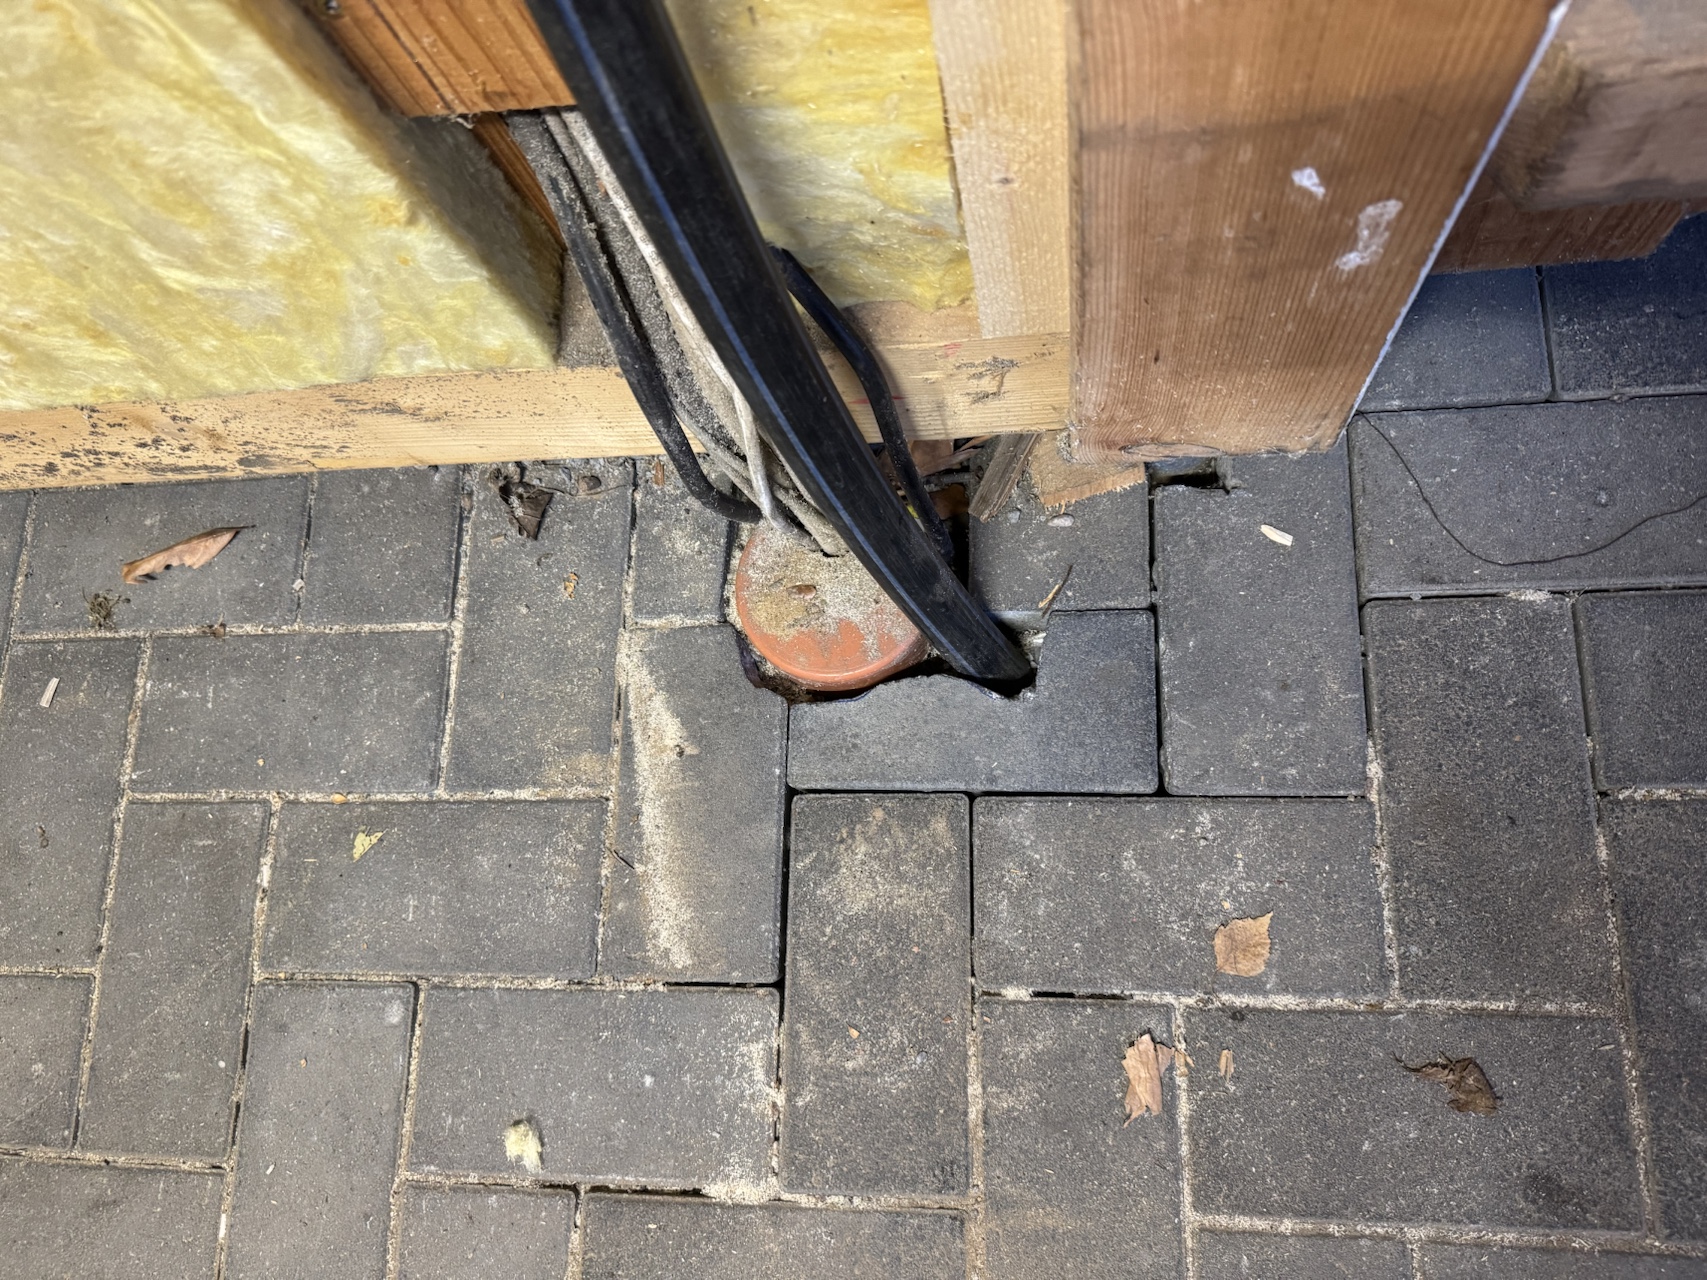
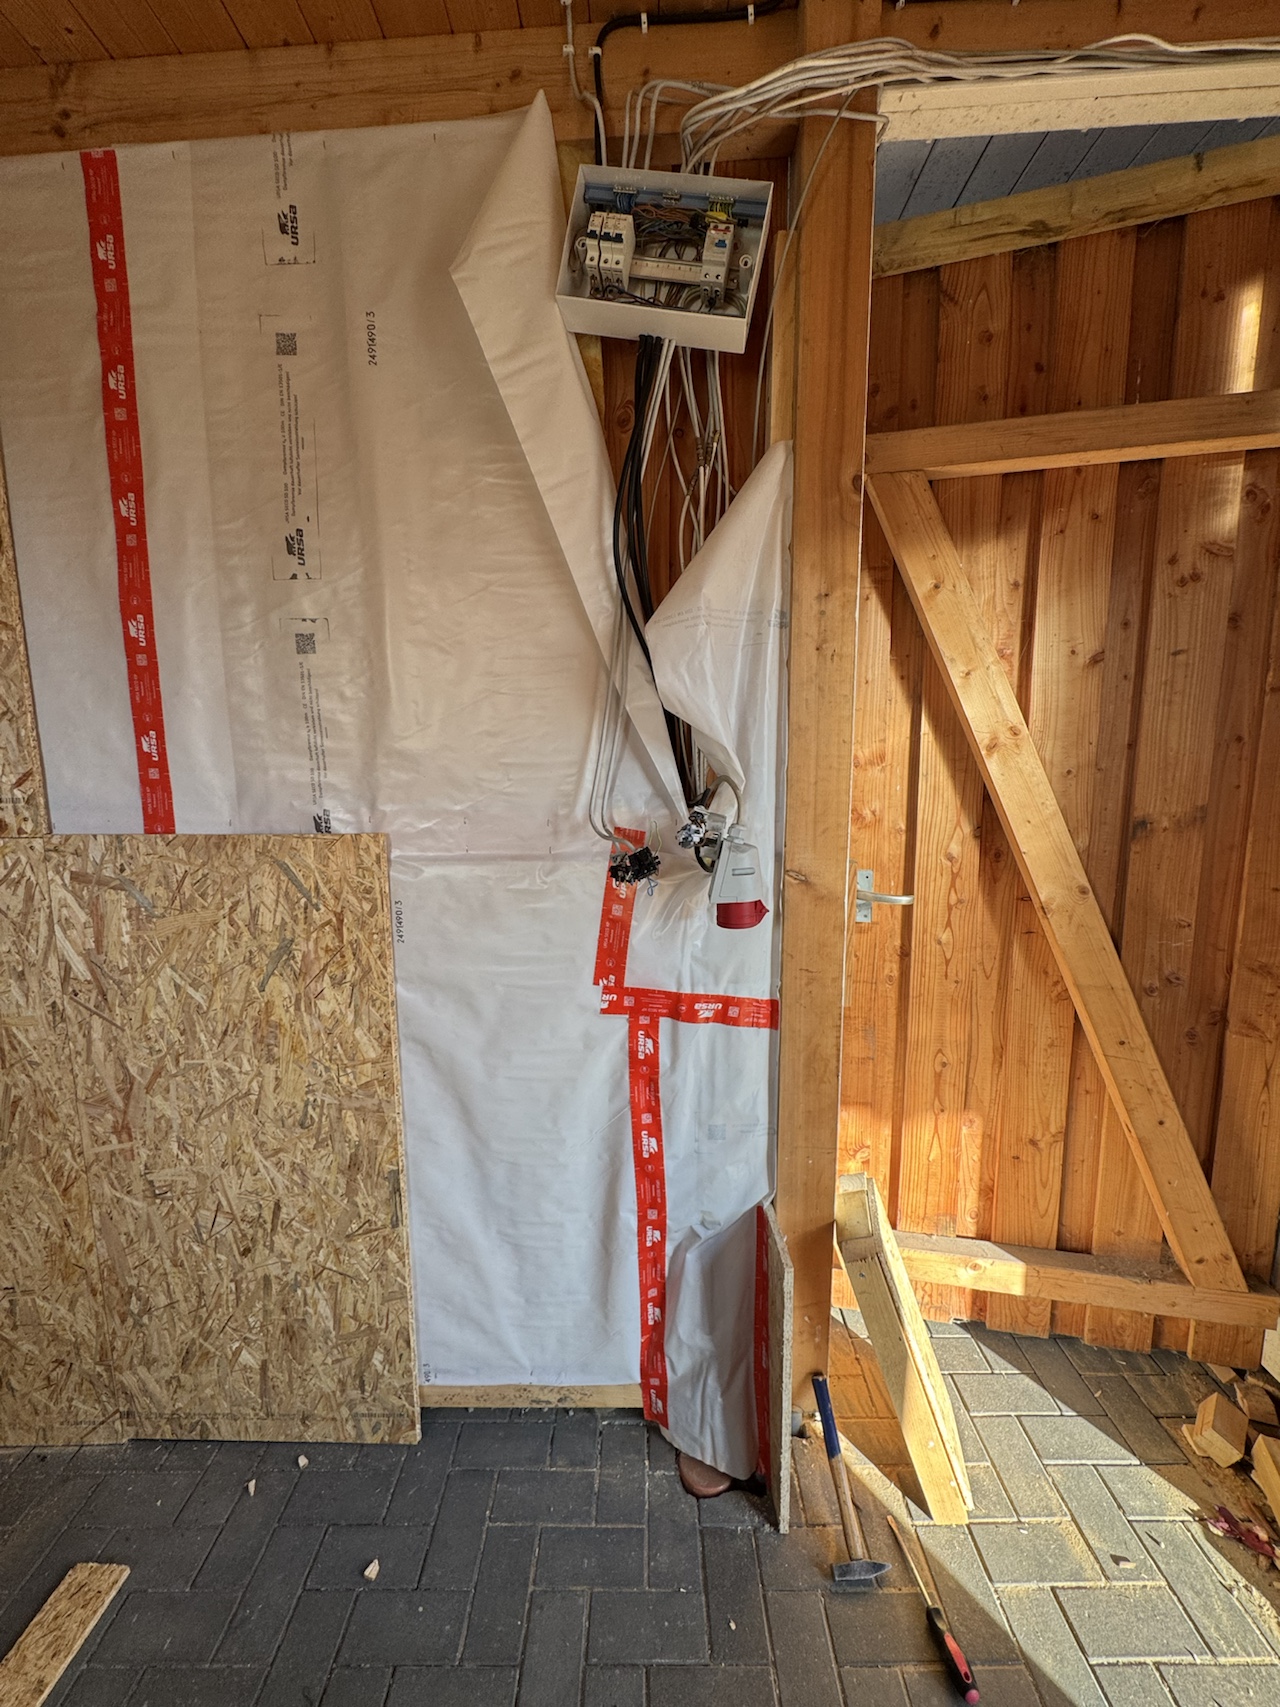
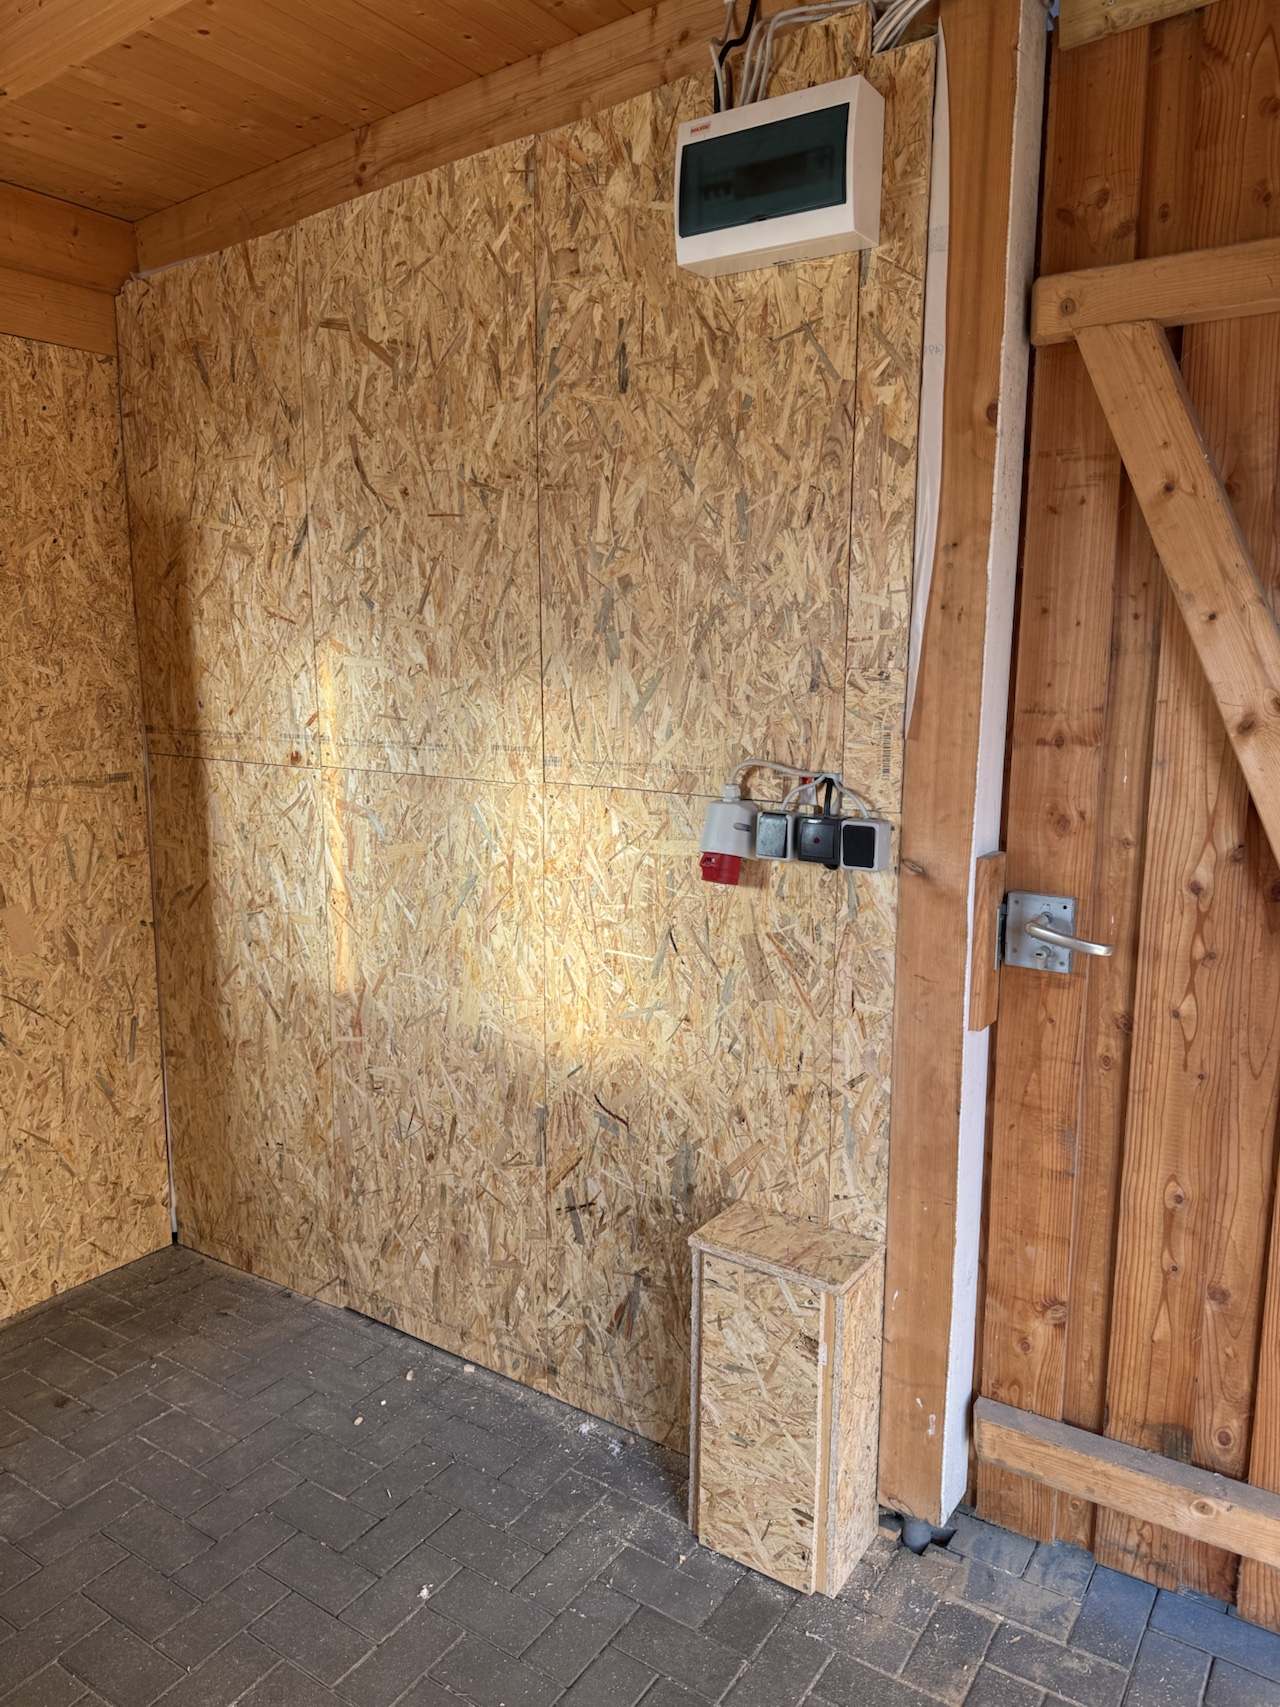
The next challenge was something that bothered me for quite some time. So we have cables that connect our shed to our home and vice versa. When we build the shed we purposefully made them come outside the ground inside the shed. The last couple of years we covered the hole as best as we could, but it was always something that was “in the way” and not looked good.
Step 2: Work bench
When I was starting on this post I thought I’d almost be done with the project and wanted to include the work bench build in here as well, but then things got complicated.
How complicated? This we will cover in part 2. Hopefully soon!